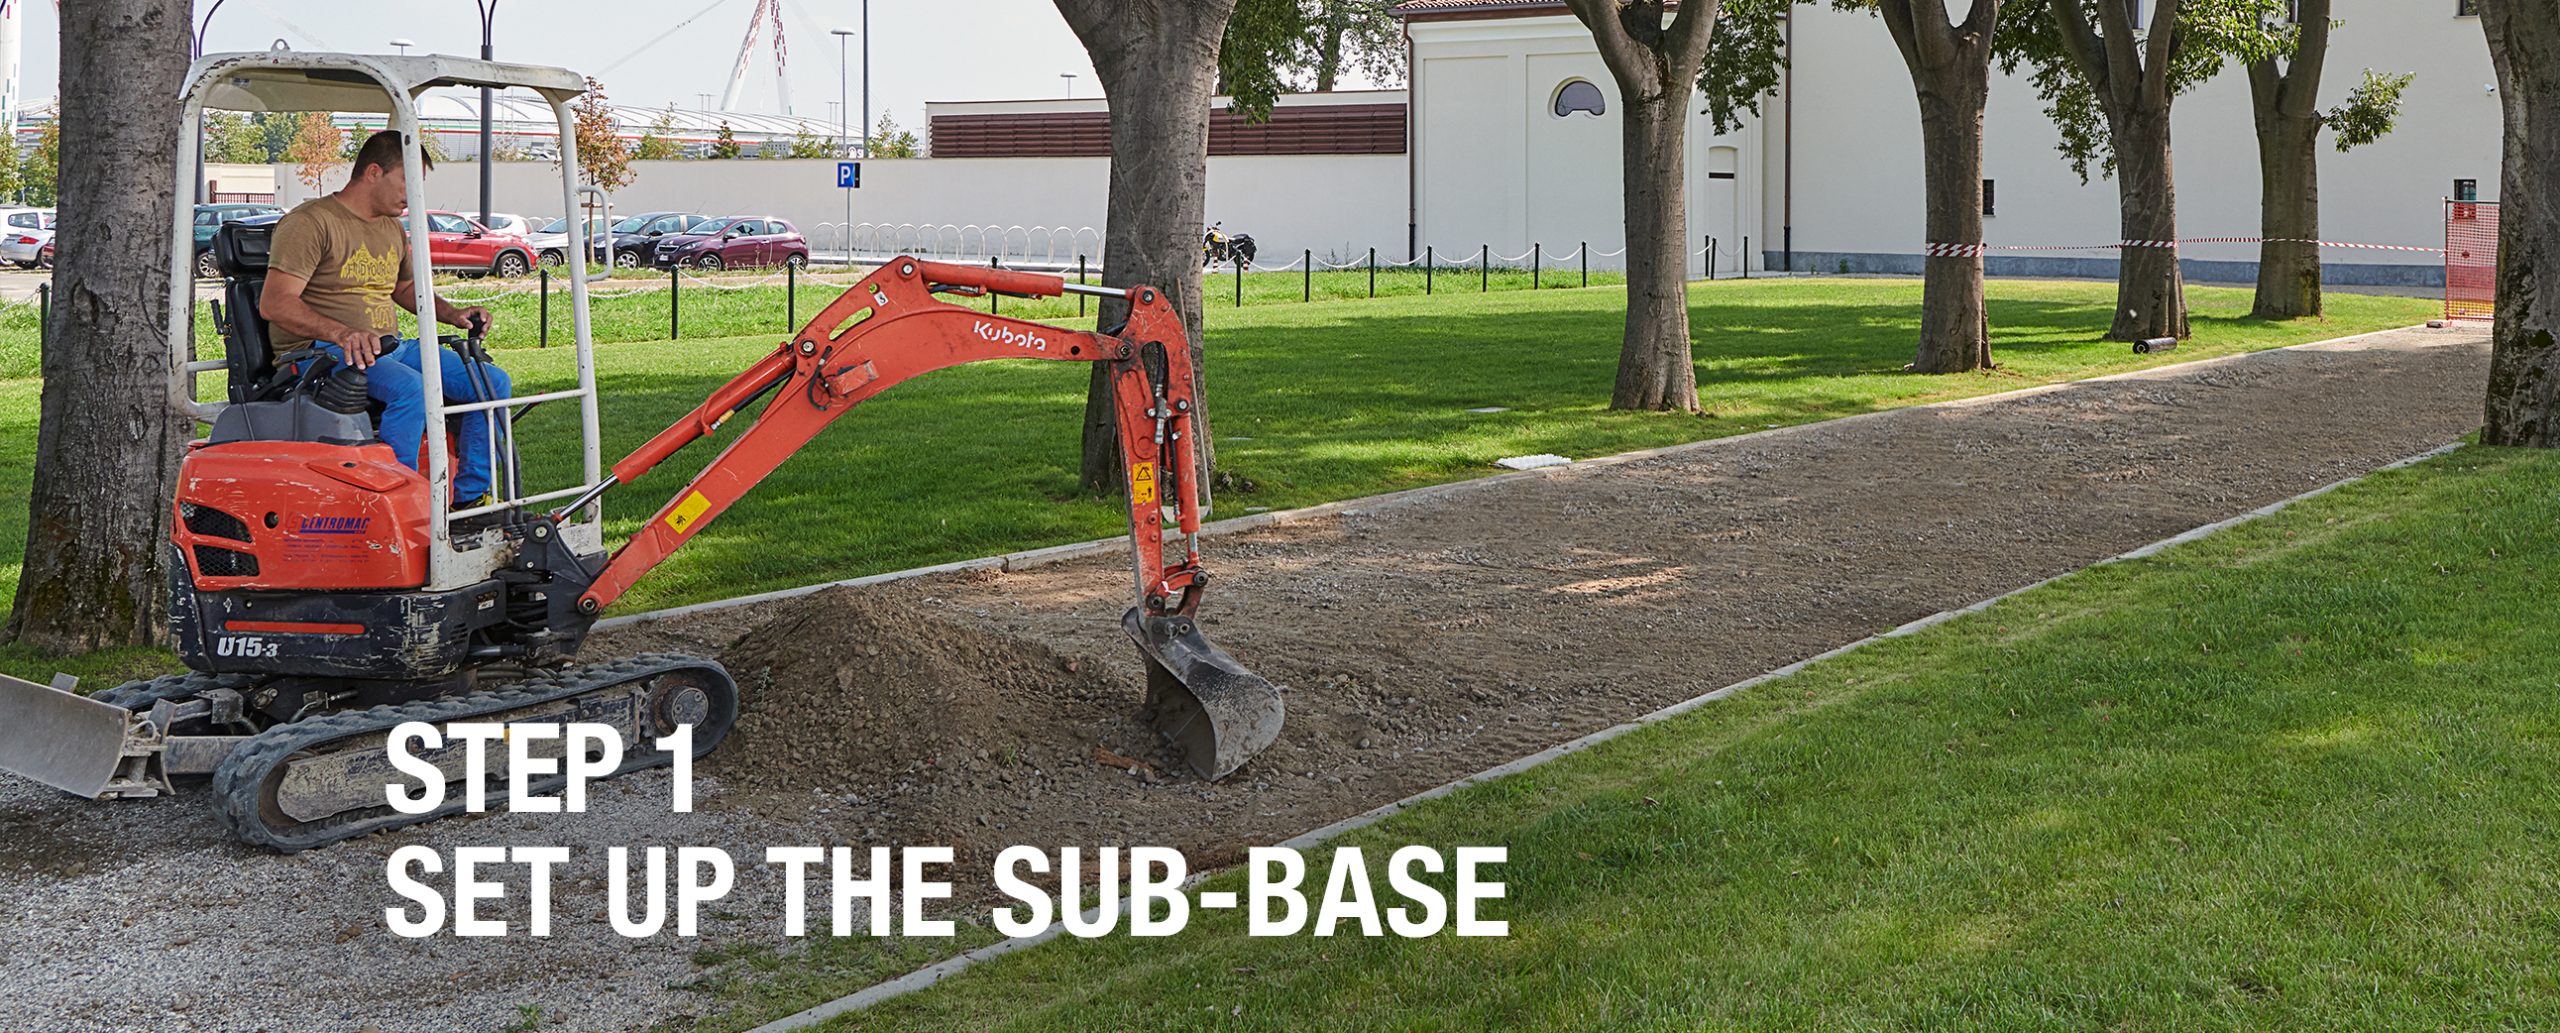
STEP 1
Set up the sub-base
Lay a permeable base layer of compacted crushed gravel with a 5-20 mm granulometry. Use an 8-10 cm thickness for driveways and 30-40 cm for heavy vehicles and firefighter access.
Geogravel 4-step installation at 70 m2/h
28 August 2024
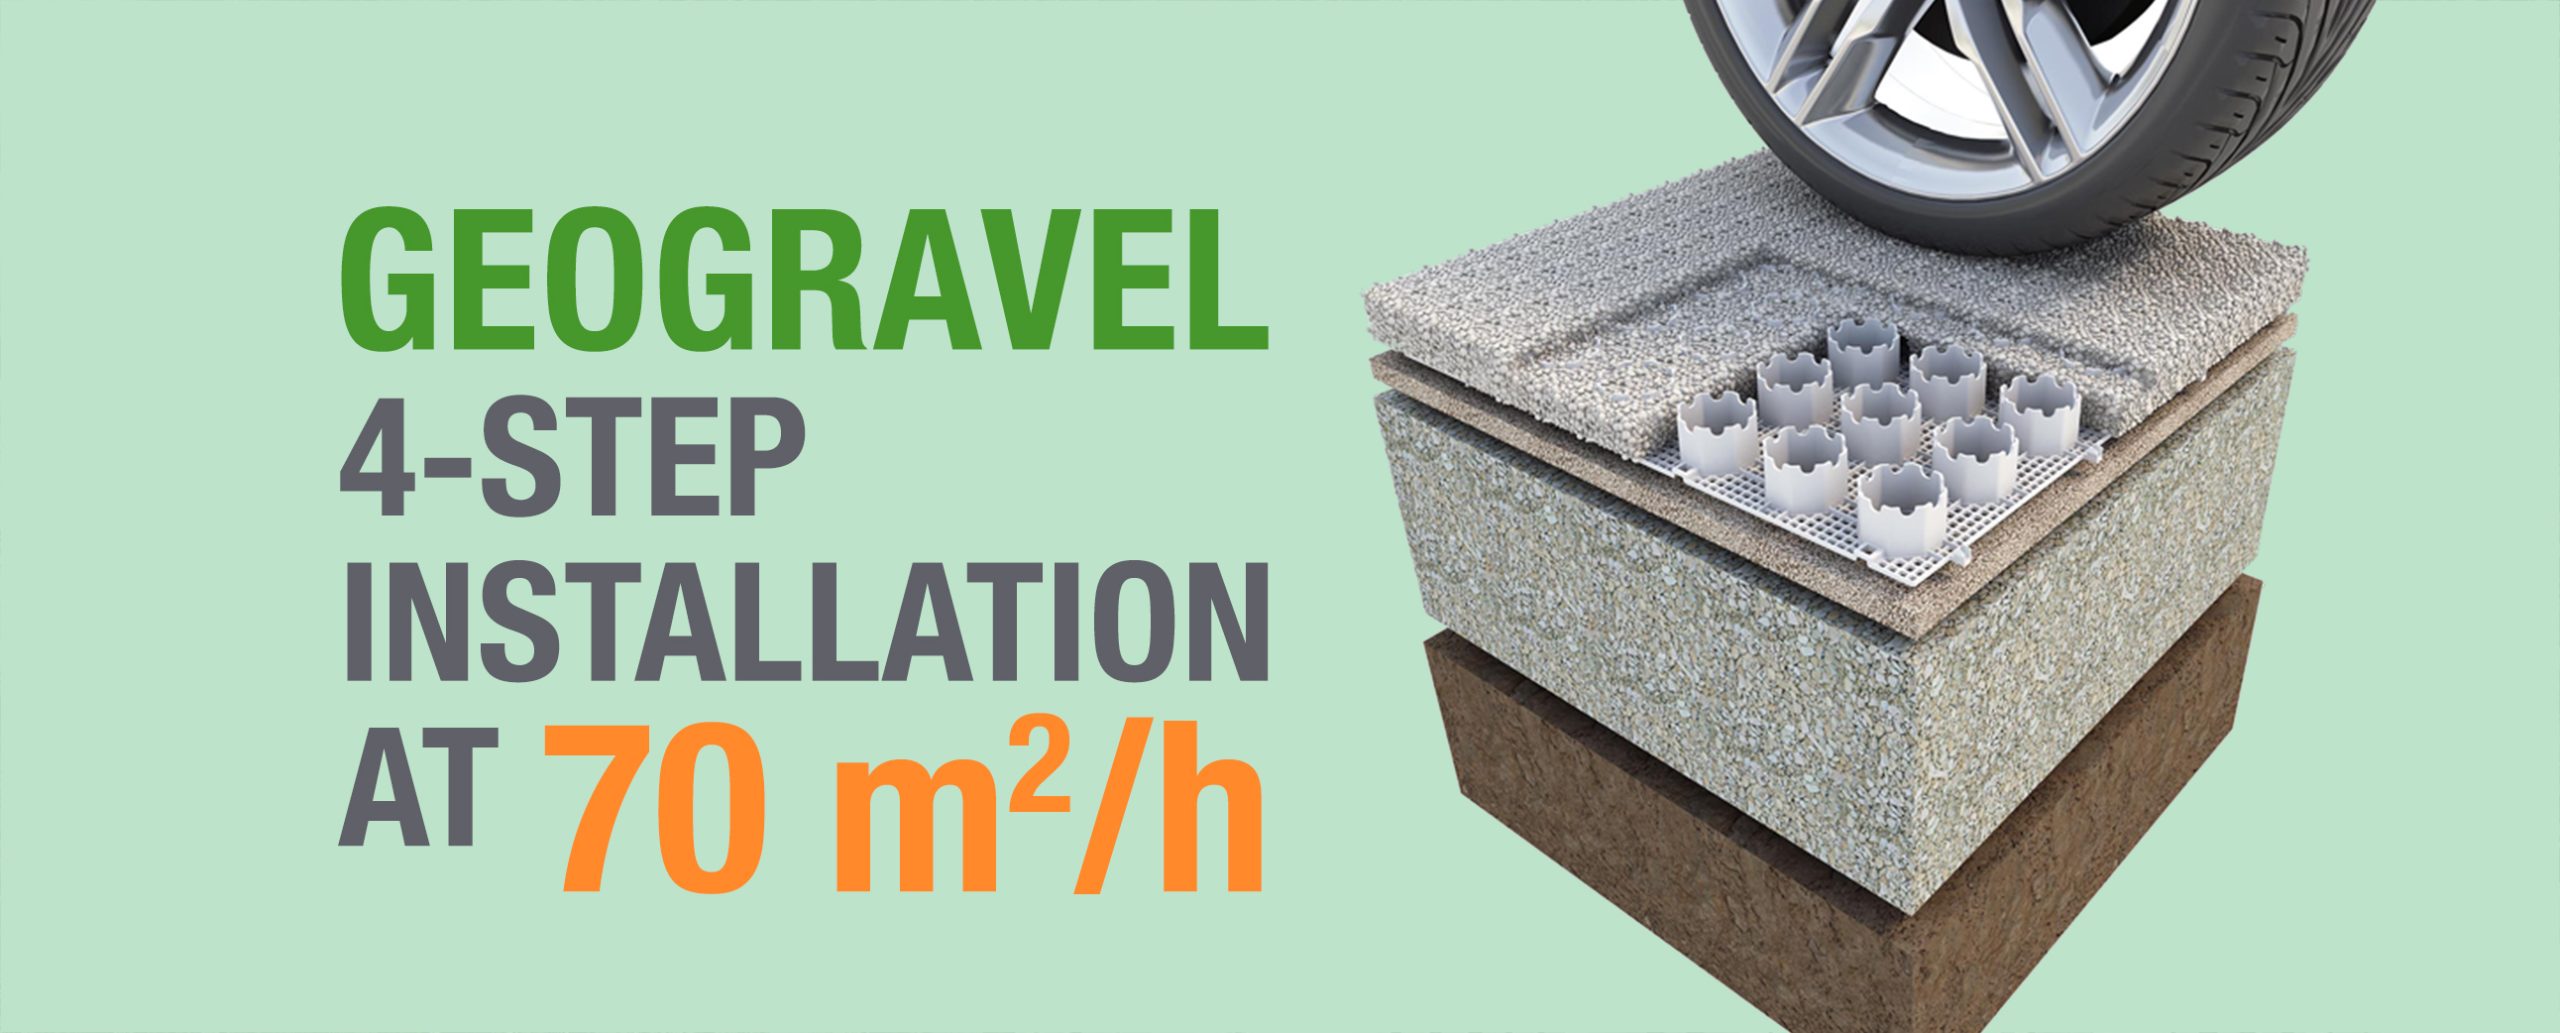
Geogravel creates gravel walkways and driveways that offer the stability of asphalt surfaces while preserving the natural permeability of the soil. It allows for effortless installation at a rate of 70 m² per hour, enabling you to complete the setup in just 4 simple steps.
Here is a guide explaining the laying phases:
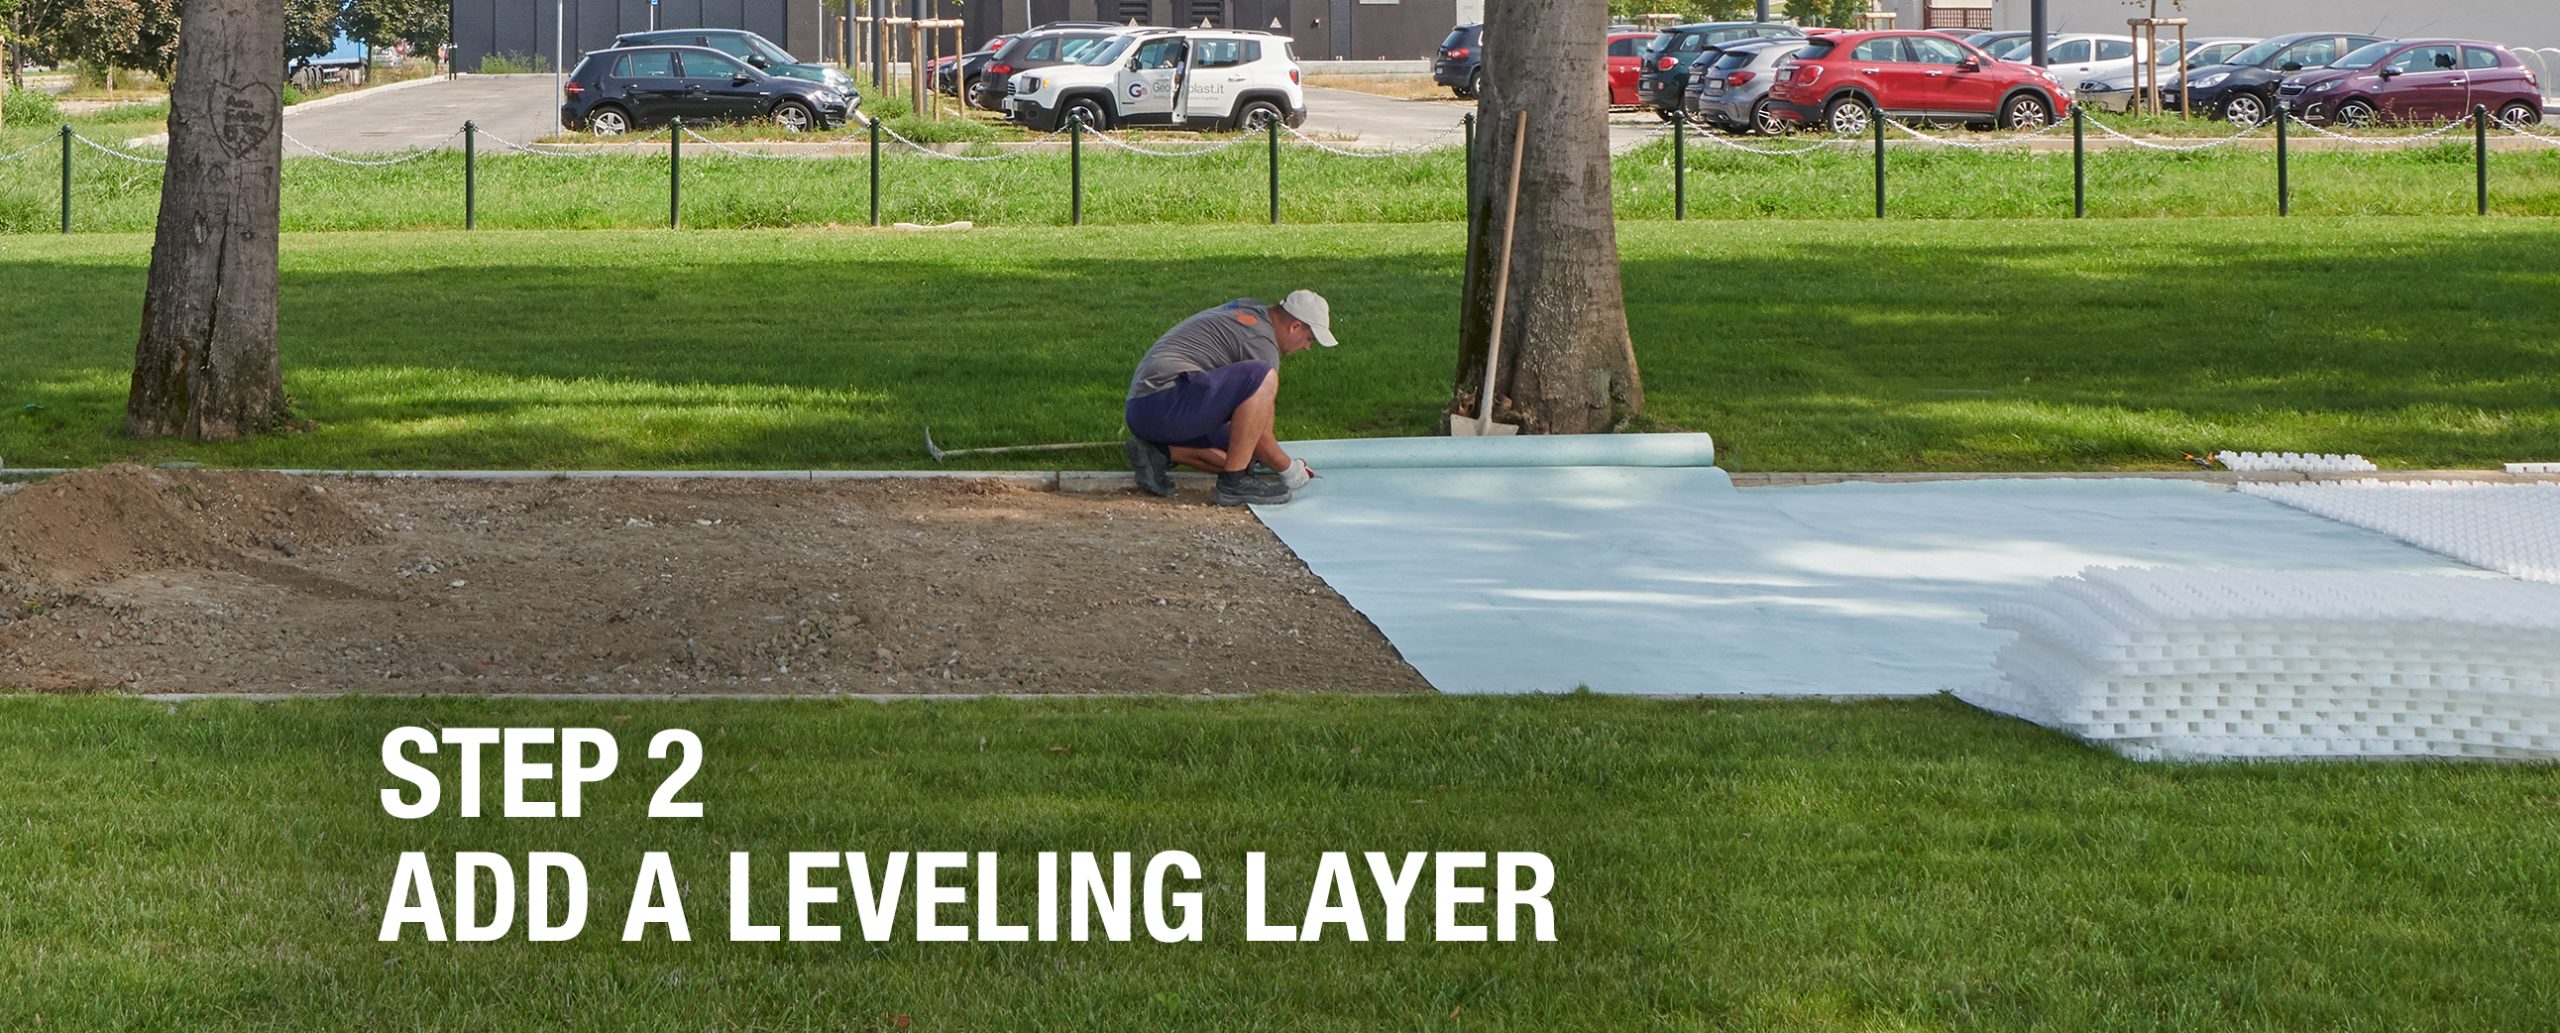
STEP 2
Add a leveling layer
Lay a 1-2 cm sand bedding made of unwashed fine gravel with a 0-5 mm granulometry. Compact the bedding well and cover it with geotextile to create a level base.
Add a leveling layer
Lay a 1-2 cm sand bedding made of unwashed fine gravel with a 0-5 mm granulometry. Compact the bedding well and cover it with geotextile to create a level base.
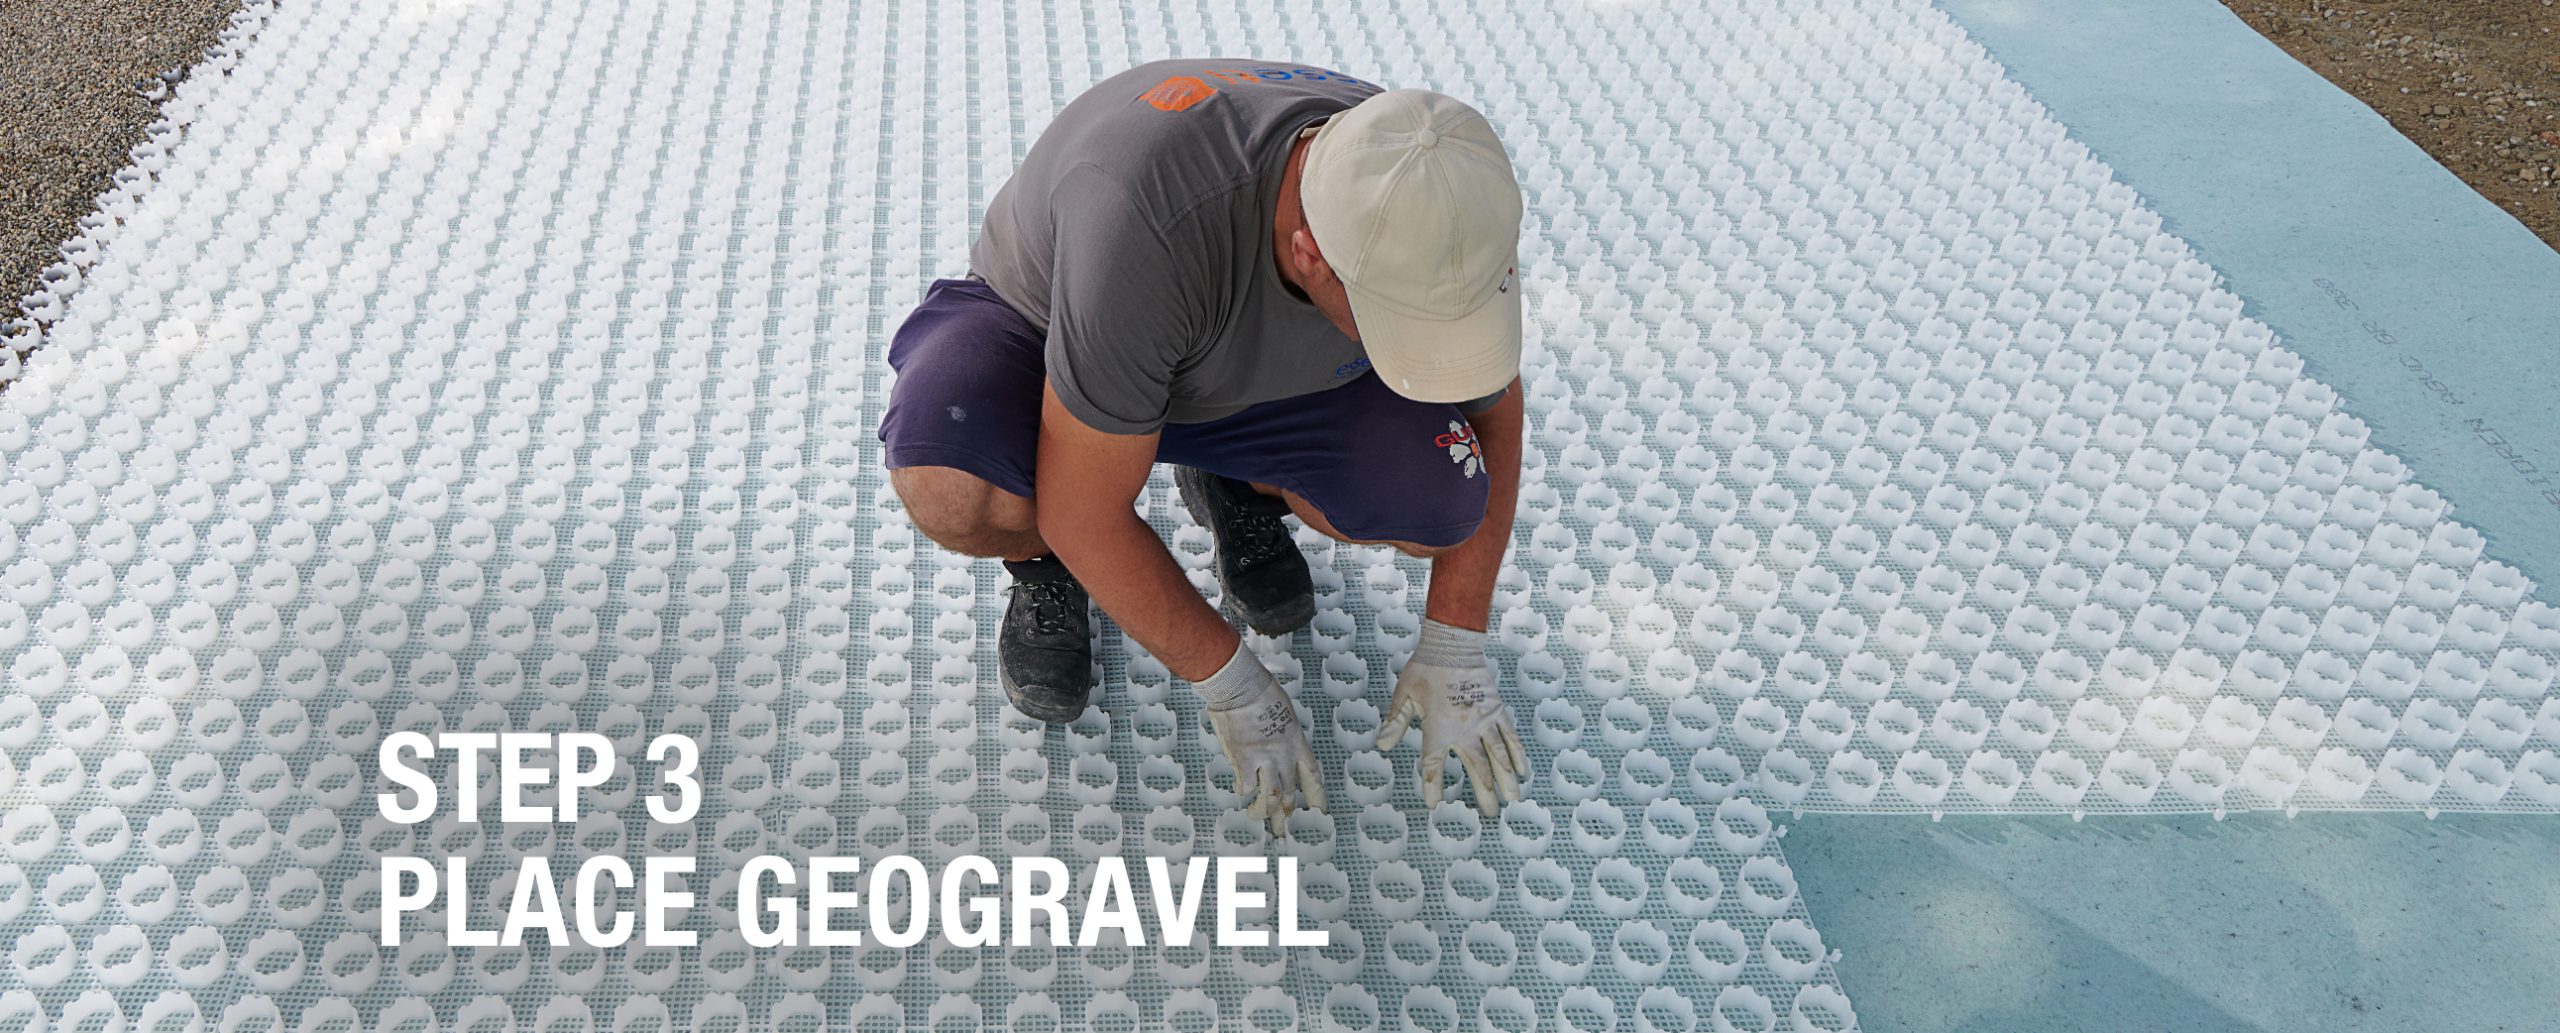
STEP 3
Place Geogravel
Install Geogravel grids by buckling them together. Leave an expansion joint of about 3-5 cm from the curbs and between 30 m² areas. Use Geogravel caps to mark parking spots, reserved areas, road edges, etc.
Place Geogravel
Install Geogravel grids by buckling them together. Leave an expansion joint of about 3-5 cm from the curbs and between 30 m² areas. Use Geogravel caps to mark parking spots, reserved areas, road edges, etc.
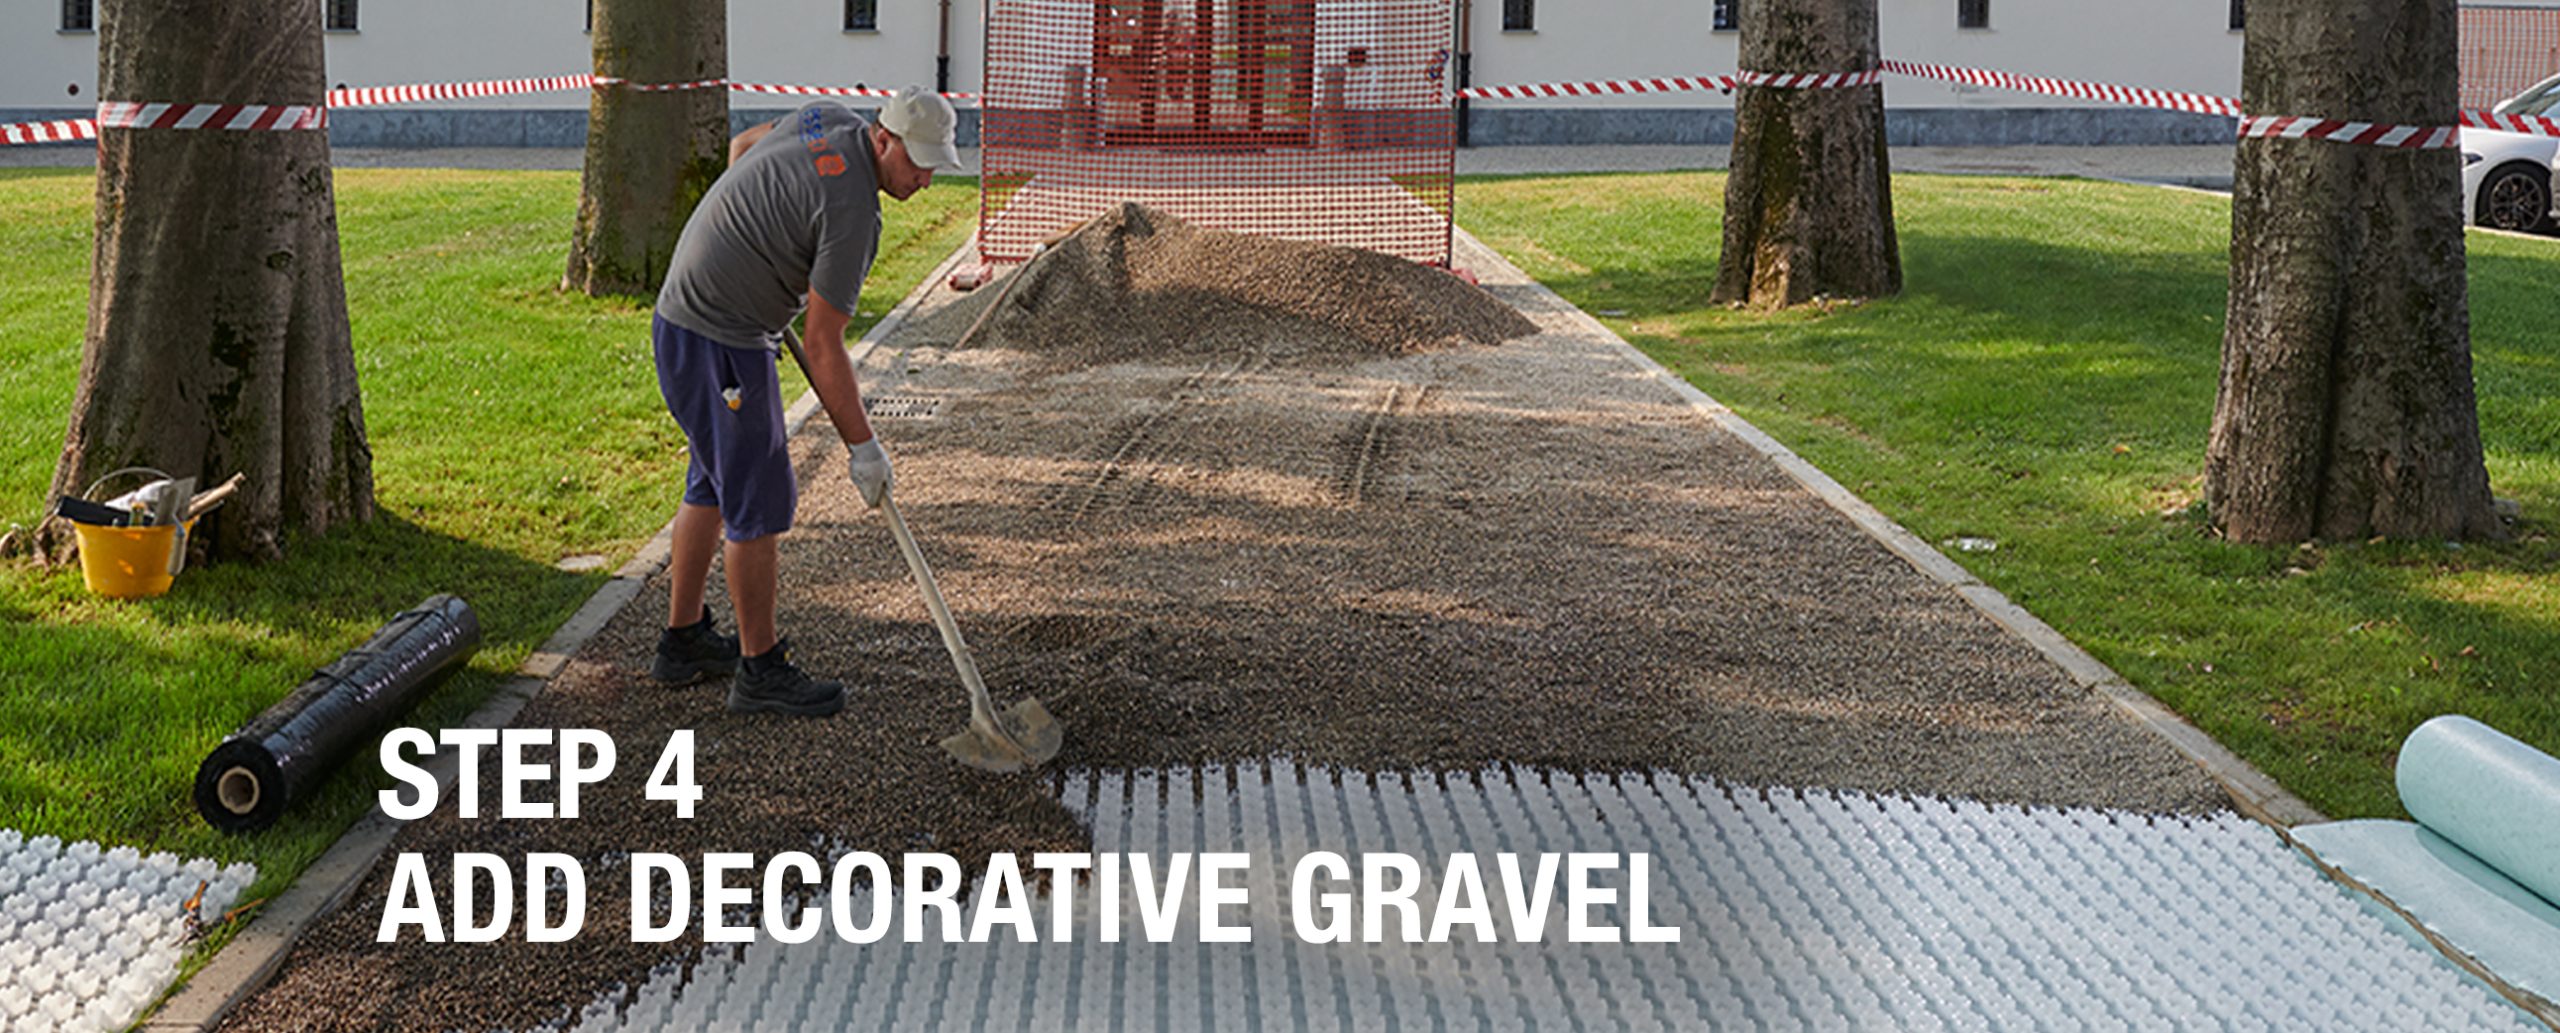
STEP 4
Add decorative gravel
Fill the Geogravel grids with decorative gravel with a 7-12 mm granulometry. Top off the grid by 2 cm over the height of the cells.
Add decorative gravel
Fill the Geogravel grids with decorative gravel with a 7-12 mm granulometry. Top off the grid by 2 cm over the height of the cells.
To learn more or purchase Geogravel, contact Luca Zausa at luca.zausa@geoplastglobal.com.