How to build an Aquabox basin in 7 easy steps
14 June 2023
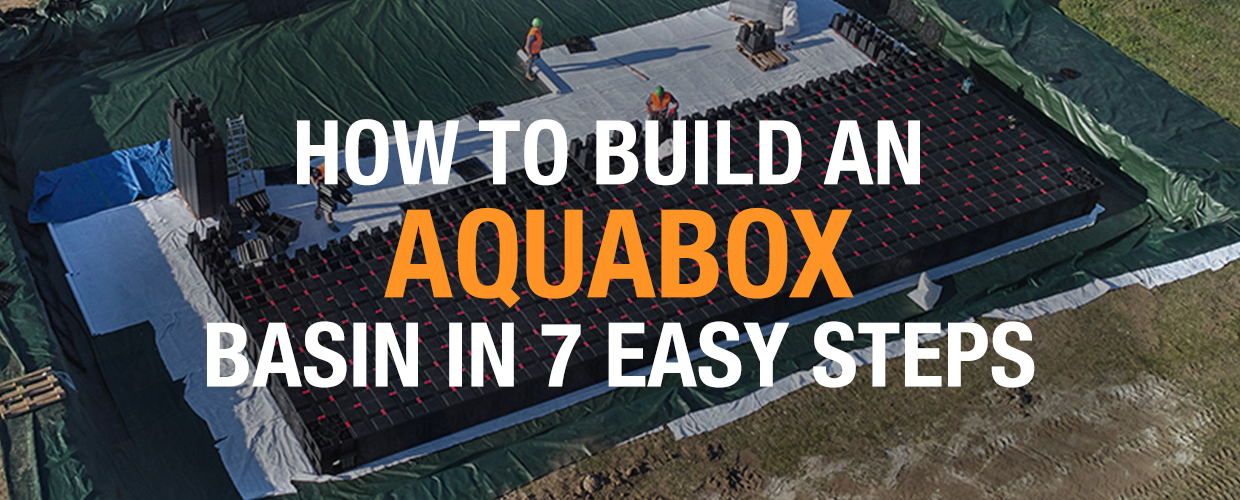
Aquabox was engineered for a fast and easy manual setup. Thanks to its snap-fit locking system and 10 kg weight, it can be installed even by inexperienced workers. Here is a beginner’s guide on building an Aquabox rainwater basin in 7 easy steps, based on our recent project in the coastal town of Punta Ala, Italy.
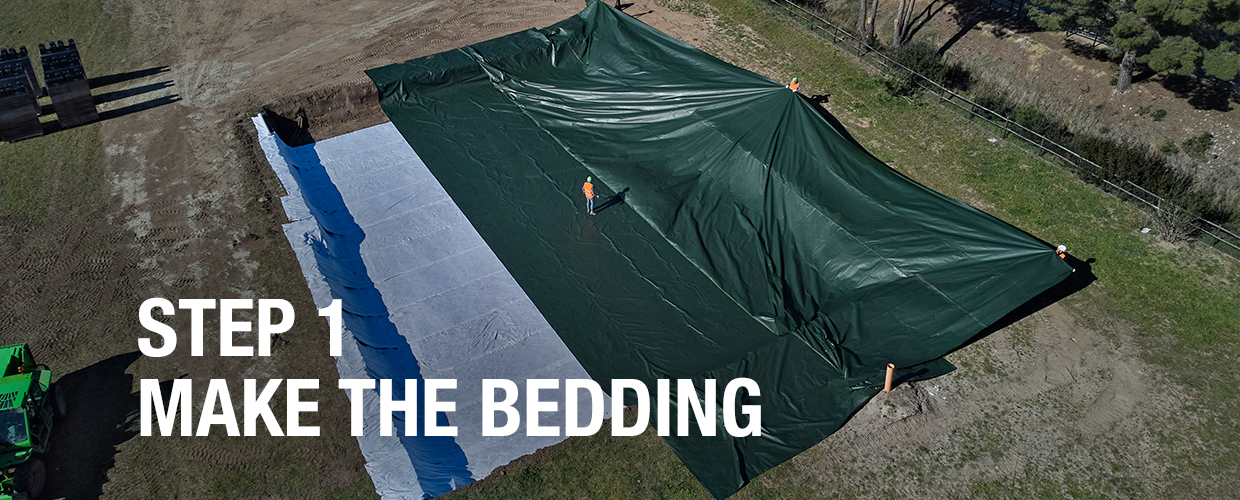
Step 1 – Make the bedding
Dig a trench and level the soil. Line it with geotextile (for infiltration basins) and, if needed, geomembrane and 2nd layer of geotextile (for retention and reuse).
Dig a trench and level the soil. Line it with geotextile (for infiltration basins) and, if needed, geomembrane and 2nd layer of geotextile (for retention and reuse).
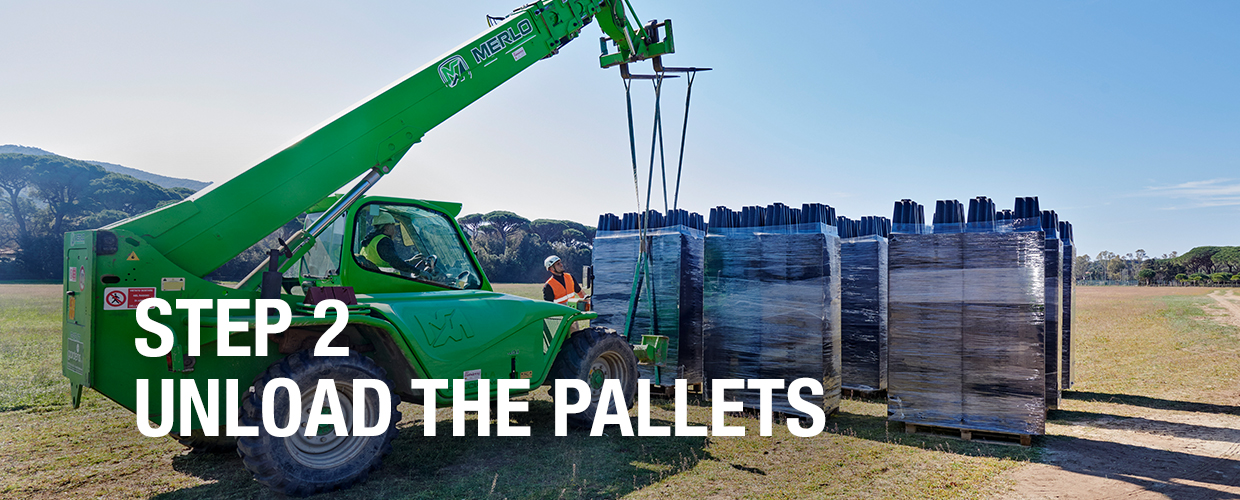
Step 2 – Unload the pallets
Aquabox is delivered stacked for easier transportation. Each pallet carries 80 half-elements or 40 modules.
Aquabox is delivered stacked for easier transportation. Each pallet carries 80 half-elements or 40 modules.
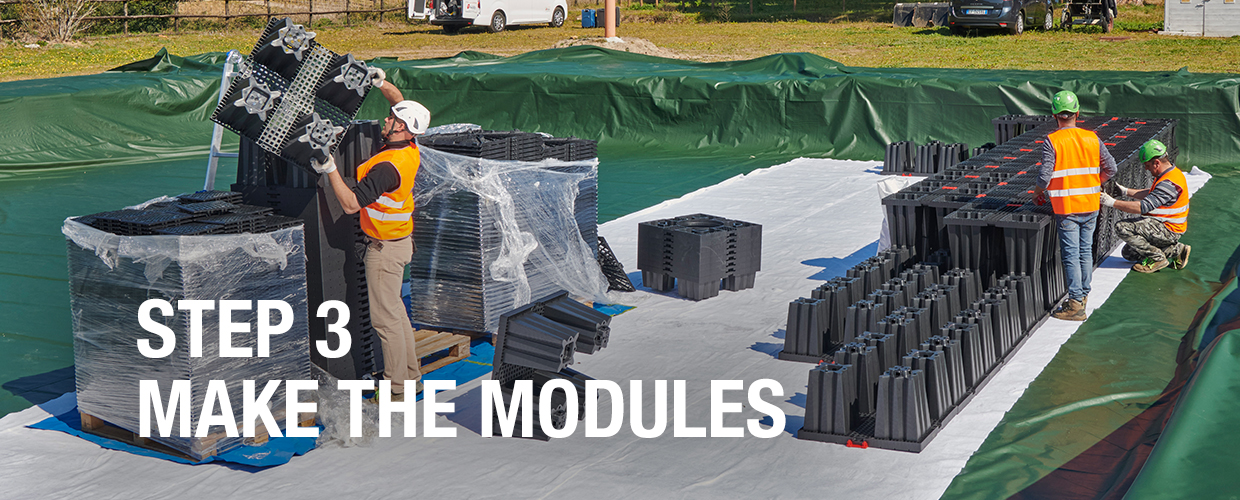
Step 3 – Make the modules
Unpack the pallets and join the half-elements together to create Aquabox modules.
Unpack the pallets and join the half-elements together to create Aquabox modules.
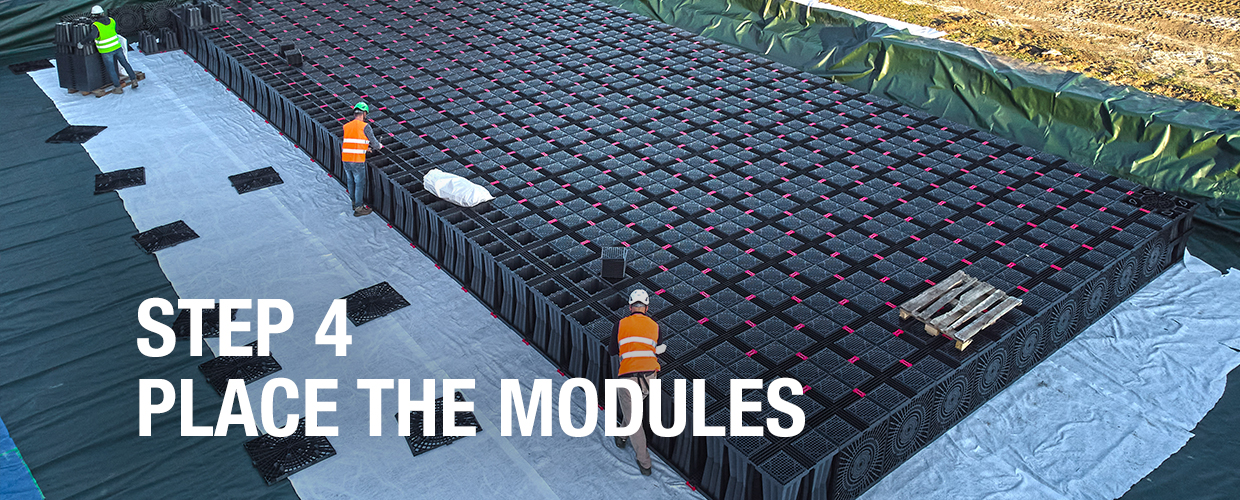
Step 4 – Place the modules
Assemble the basin by placing the modules and locking them together with red connectors.
Assemble the basin by placing the modules and locking them together with red connectors.
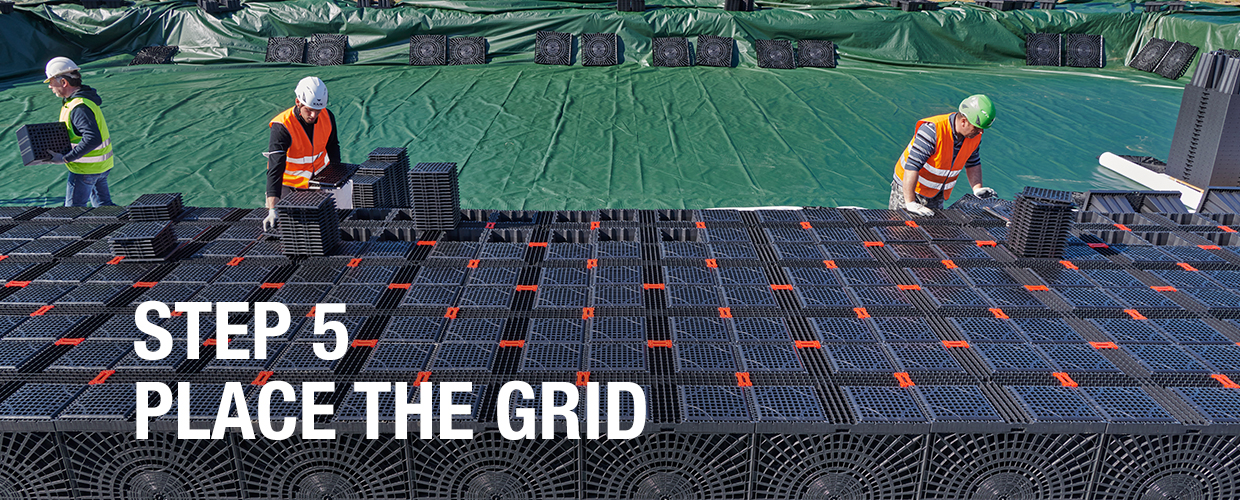
Step 5 – Place the grid
Close the basin by placing sidewall and top grids.
Close the basin by placing sidewall and top grids.

Step 6 – Cover the basin
Cover the basin with geotextile. Seal it with a geomembrane and 2nd layer of geotextile, if needed. Cover with soil.
Cover the basin with geotextile. Seal it with a geomembrane and 2nd layer of geotextile, if needed. Cover with soil.

Step 7 – Enjoy
Enjoy the great rainwater management from your new Aquabox basin.
Enjoy the great rainwater management from your new Aquabox basin.
